
EASY WASHI TAPE HEADBOARD
February 19, 2017
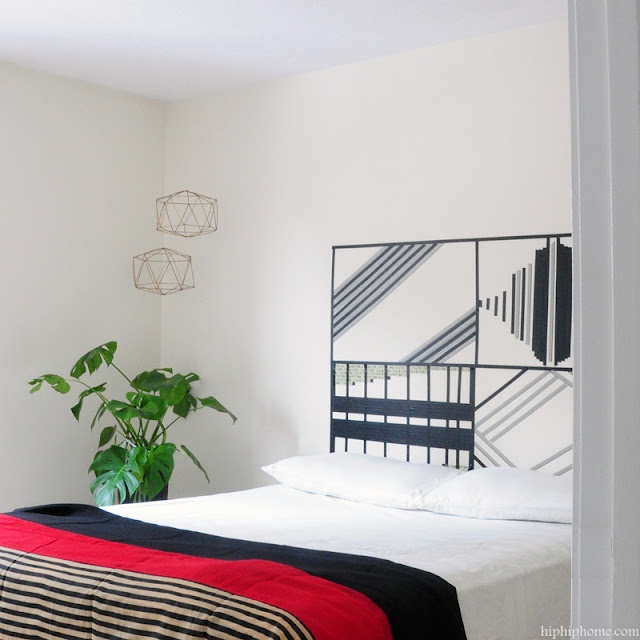
Today I want to share one of my favorite projects - an easy Washi tape headboard. It started out as an activity on a bored evening, and ended up being a fun project. Our guest bedroom is quite small, and there is no room for a real headboard. I decided to create something to give the room a focal point, and used Washi tape to create a pattern that looked like a headboard.
The project is super simple. Here are the steps I followed.
SUPPLIES:
Washi Tape in coordinating colors
Scissors
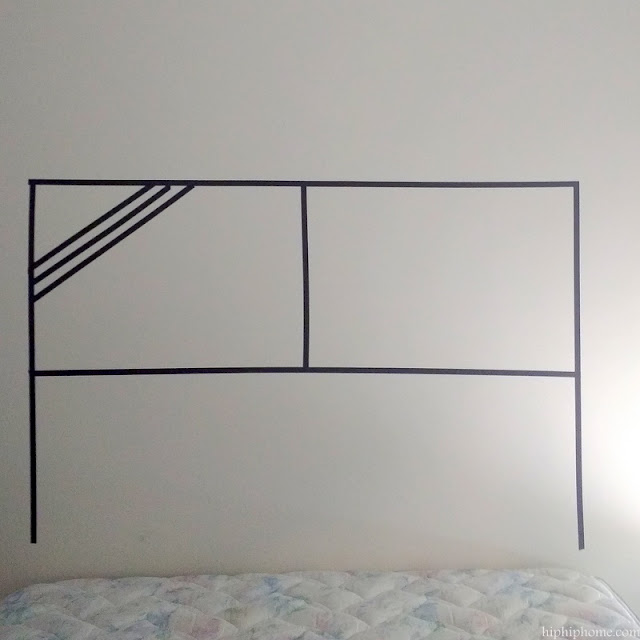
STEP 1
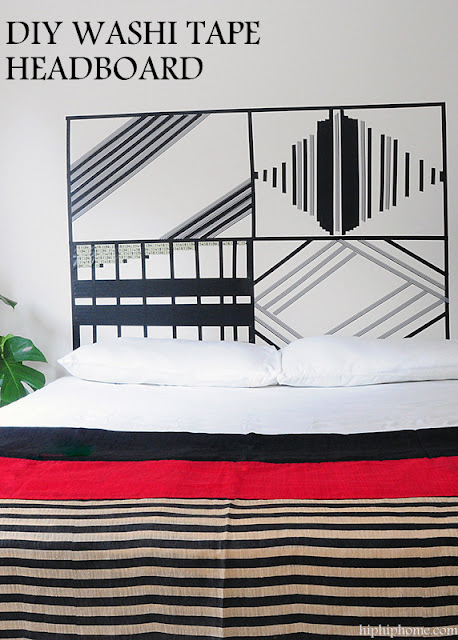
Tape out a border for your headboard and divide it into 4 sections. The small sections make working with the tape easier.
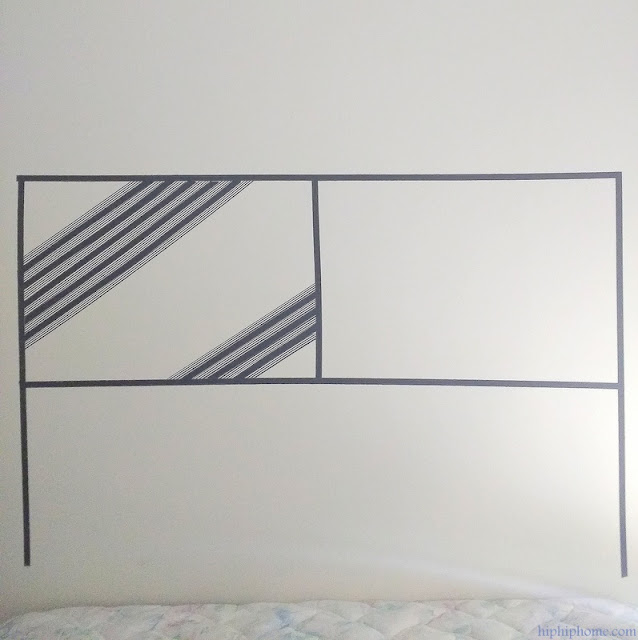
STEP 2:
Use different but coordinating Washi tape and create patterns in each section. Since I wanted to create a monochromatic pattern, I only used black and white tape in different styles.
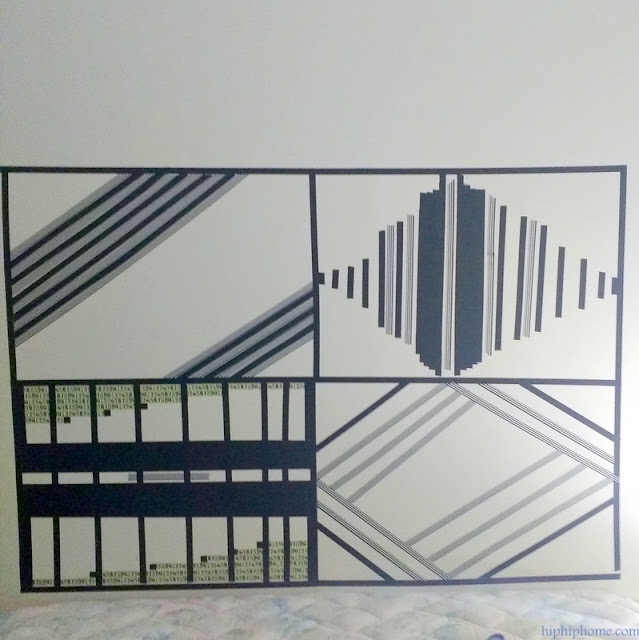
STEP 3:
Create desired patterns in all the 4 sections and YOU ARE DONE!
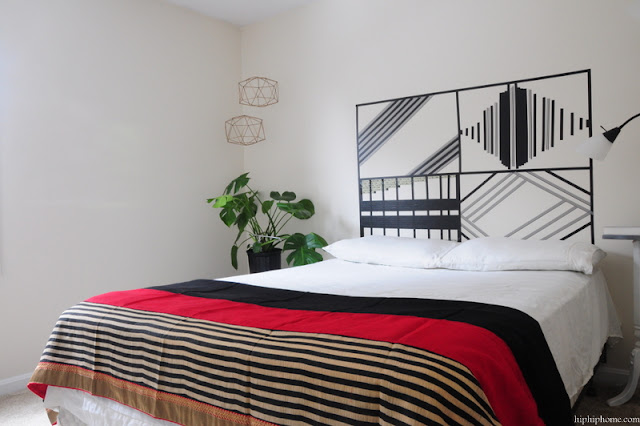
Here is the finished 'headboard'.

This will make for an excellent project for a kid's room or a dorm room, or even a spare bedroom like ours. Until we figure out a more permanent headboard solution, this one is here to stay!
So, what do you think? Is this something you will try?
Cheers,
Vinaya


4 comments
Pretty damn cool!
ReplyDeleteThanks so much Teri! :)
DeleteWonderful idea Vin! Your design is so cool, but the possibilities are endless! Also, love the blanket.
ReplyDeleteHey Linda, thanks so much. Yeah it was a really fun project
Delete