
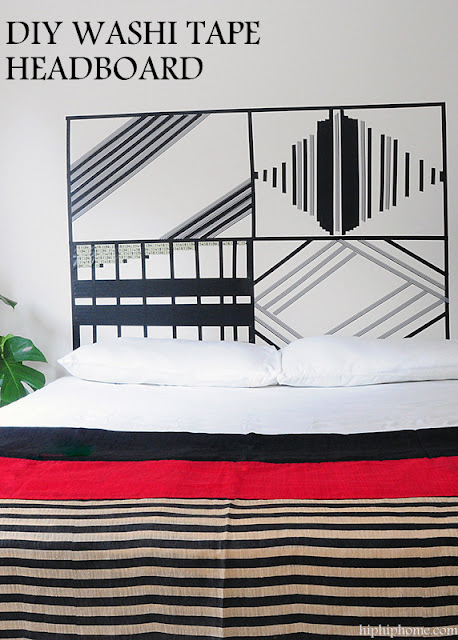
EASY WASHI TAPE HEADBOARD
February 19, 2017
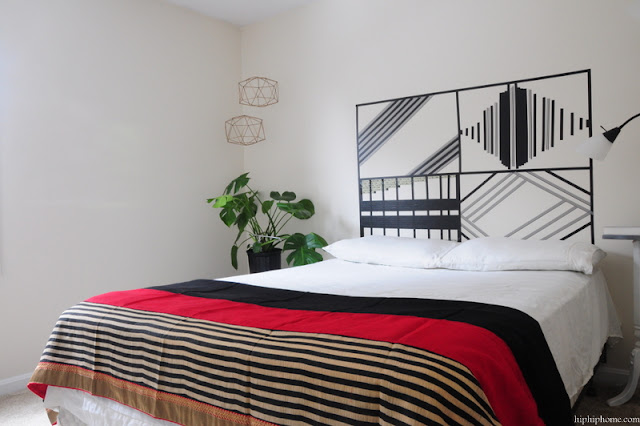
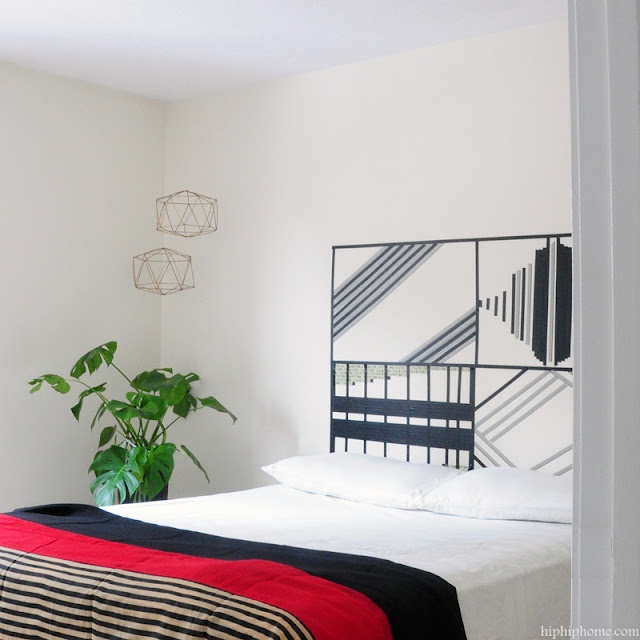
Today I want to share one of my favorite projects—an easy Washi tape headboard. It started out as an activity on a bored evening and ended up being a fun and creative project.
Our guest bedroom is quite small, and there’s no room for a real headboard. So, I decided to create something that would give the room a focal point and used Washi tape to design a pattern that looked like a headboard. It was simple, budget-friendly, and completely customizable!
Just like a DIY project can transform a space, automation can streamline your work. If you’re managing marketing or online projects, you can connect Amazon SNS and Facebook Ads Campaign Management integrations to automate notifications, track campaign performance, and optimize ad management—all while having more time for creative endeavors like this one!
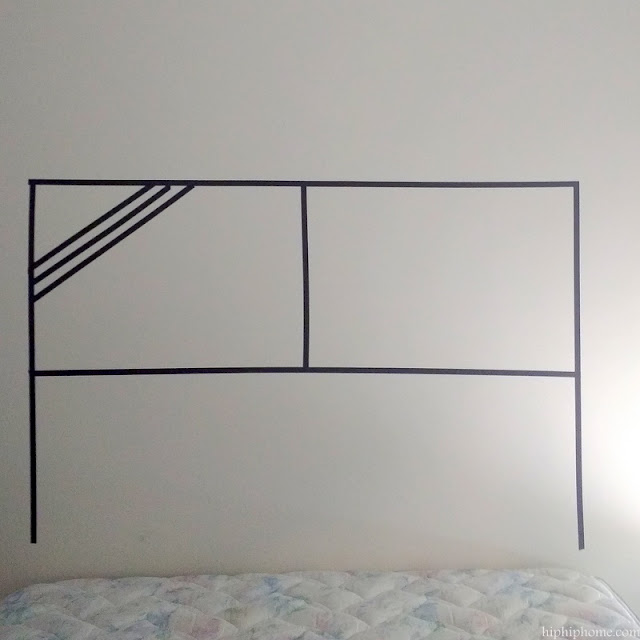
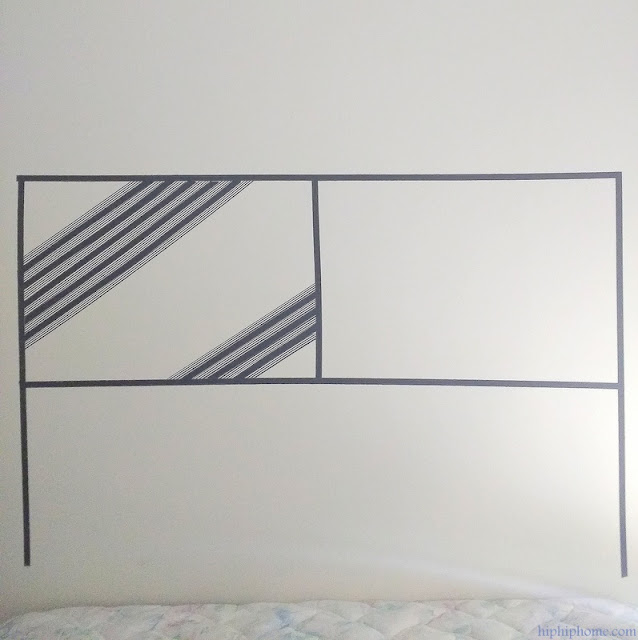
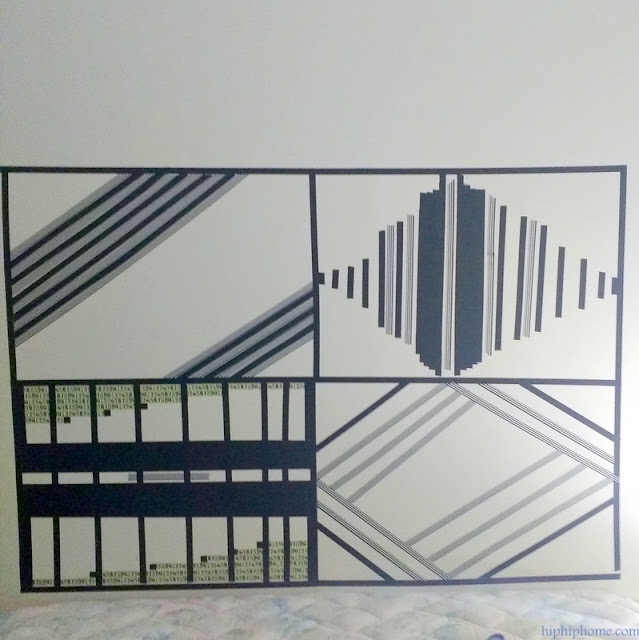
The project is super simple. Here are the steps I followed.


4 comments
Pretty damn cool!
ReplyDeleteThanks so much Teri! :)
DeleteWonderful idea Vin! Your design is so cool, but the possibilities are endless! Also, love the blanket.
ReplyDeleteHey Linda, thanks so much. Yeah it was a really fun project
Delete