
IKEA HEMNES DRESSER HACK
August 05, 2015
That sounds like a fantastic find and a great opportunity to refine your painting skills! Taking on a project like refurbishing an IKEA Hemnes dresser not only gives it a new life but also allows you to experiment and improve your DIY skills. It’s always rewarding to see a transformation, especially when you're the one making it happen.
If you’re looking to streamline projects like this in the future or even share your journey and tips with others, Latenode can be an excellent resource. With Latenode, you could automate parts of your DIY project management, such as scheduling time for each phase of your project, tracking your supply inventory, or even setting up reminders for when it's time to add another coat of paint or check if it's dry.
Moreover, if you decide to document your refurbishing projects and share them online, Latenode can help automate your content publication and audience engagement. For instance, scheduling posts across different social media platforms or setting up an automated response system for comments and questions could save you a lot of time, allowing you to focus more on your creative endeavors.
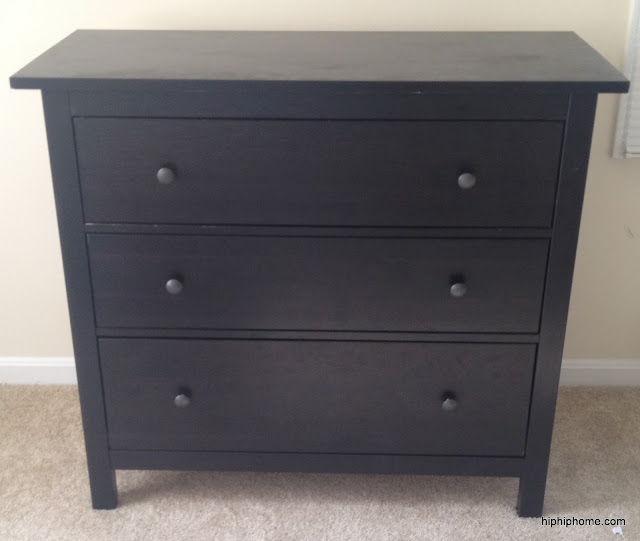
BEFORE:
Supplies I used:
Patience (Get tons of this!)
Kilz2 Latex primer
Behr Premium Plus Ultra Sample paint. (I used one full can and a quarter of another)
Sandpaper (Fine and Coarse)
Wooster Synthetic bristle Angled brush
Paint roller
STEP 1: PREP

STEP 2: PRIME

STEP 3: WAIT
STEP 4: PAINT

STEP 5: WAIT
STEP 6: POLY PROTECTIVE COAT
STEP 7 : ADMIRE YOUR WORK AND DO THE HAPPY DANCE
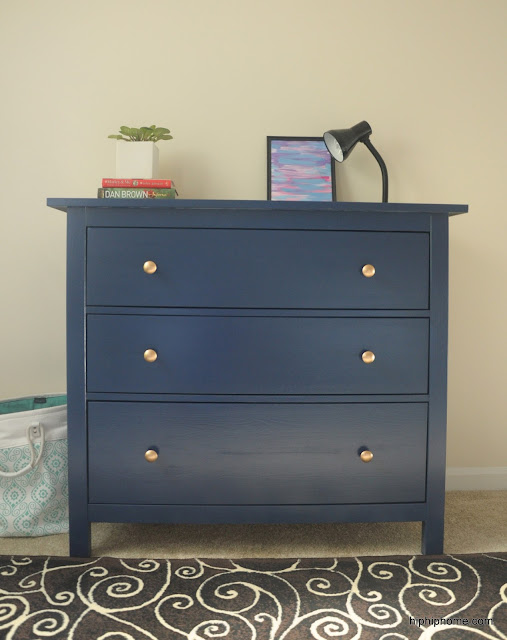
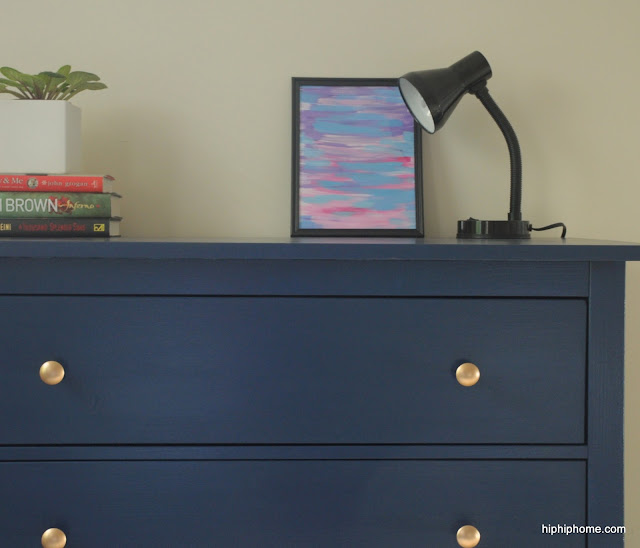
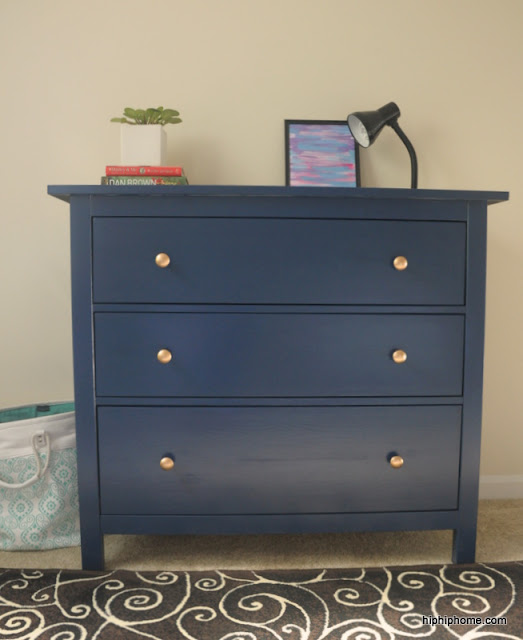
AFTER:


Hope this helps!
Update: It's been over two years since this project and there has been zero peeling, chipping or stickiness! I have left many items on top of the dresser for days expecting them to leave a mark when I pick it up, but that has not happened. The spray paint on one of the knobs has worn off , but that's about it.
Cheers,
Vinaya


35 comments
This came out amazing!!!! Thanks for posting.
ReplyDeleteThankyou so much!
DeleteThis is a beautiful makeover!! Thanks for sharing!!
ReplyDeleteThanks so much Jessica ! Glad you liked it :)
DeleteThat's a nice navy paint-not too dark. What brand/shade is it?
ReplyDeleteHi Sharon! Thanks for stopping by! It's 'Very Navy' by 'Behr Premium Plus Ultra' ! I should probably include it in the post! :) Hope it helps!
DeleteHi! Now that it's been over a year, how well has the paint held up? Any chipping, peeling or scratching off easily? Any stickiness?
ReplyDeleteHey Lana, thanks for your interest! It's actually been 2 years since the project and I am happy to report there's been zero peeling, chipping or stickiness! I have left many items on of the dresser for days expecting them to leave a mark when I pick it up, but that has not happened! Yay! The spray paint on one of the knobs has worn off , but that's about it!
DeleteFantastic! Glad to hear it. I'm planning a similar transformation. Keeping fingers crossed it turns out as good as yours. :)
DeleteCan you please write which exact finishing coat you used? Was it Varathane? Or the Minwax Polycrylic? Thanks!
DeleteGood luck on your project! I used the Varathane Poly as the final top coat.
DeleteHey there! Guess what? I did that Ikea repainting project and it turned out brilliant! I did a large hemnes wardrobe that was originally black, and I painted it white! And I didn't bother with a top coat at all. It's been two years and it has also held up well! If you're interested, I wrote about it in my blog that I recently started. Check it out here: www.acreativehome.ca/how-to-paint-furniture/
DeleteThat’s so great!!! Time for the happy dance :)
DeleteThis is an excellent demonstration of quality DIY work. I have Hemnes furniture and I'm so tired of the brown. I might do white. Or I might do colors. But it won't be brown any more. Yay!
ReplyDeleteHi there! I redid a black hemnes wardrobe in white! Check out my tutorial here: http://www.acreativehome.ca/how-to-paint-furniture/
DeleteBeautiful!!! ♡
ReplyDeleteHi there!
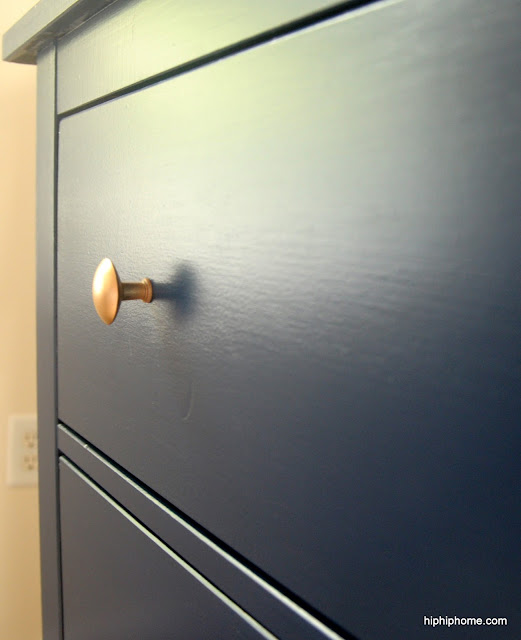
ReplyDeleteCan you tell me the process for the knobs? Did you sand and spray paint? Just spray paint? Did you seal the knobs with poly too? Thank you!
Hi Eliana, I actually just spray painted the knobs without sanding and they chipped after a year. I should probably sand and spray paint again because it's such a heavily used part! Cant't open them without touching the knobs.
DeleteThe dresser itself though has held up really well with ZERO chips. Looks as good as the day I painted it!
HI, I wanted to paint them the same black-brown, from wear/usage... would I still need to prime after sanding? Read that there is a similar color from Behr matching the black-brown. thanks..cindy
ReplyDeleteHi Cindy.. yes you would still have to sand before priming. The existing black brown is just a stain and you would need to follow the same steps regardless of what color you intend to paint. The sanding and priming is to ensure that the paint sticks to the surface well. Good luck on your project!
DeleteHi Cindy, can you please tell me what sheen was used for the paint and the polyurethane?
ReplyDeleteOops I can't recall.. I think it was something similar to eggshell/satin... Not glossy,not matte - somewhere it the middle
DeleteBeautiful result! Nice job and Thanks for sharing!
ReplyDeleteThankyou!
DeleteHi! I love the look of the dresser ;) did you apply the poly with a brush or roller?
ReplyDeleteI used a brush
DeleteI applied a Polycrylic coat to the dresser after several coats of paint, and the entire dresser began to suffer from alligatoring. It looks like garbage and I basically have to start all over again. Very disheartening.
ReplyDeleteOh no that’s so disappointing! I don’t have a lot of experience to think of what could have gone wrong.
DeleteI have a hemnes dresser I'd like to redo and as you know, only parts of it are real wood. Did you have any problem with the paint adhering to those areas?
ReplyDeleteHi Angie, I did sand and prime and had no issues. It’s been 6 years now, and it looks just like the day I painted it :) . Except for the knobs - I didn’t put any effort into doing them except for spray paint
DeleteHi! I have the same dresser and as you know, only parts are real wood. I'm wondering if you had any trouble getting the paint to adhere to those areas, or if the sanding and double coats of primer are what helped.
ReplyDeleteHi! Is it possible to paint it inside the room? Don't have a big space and can't really take it out. Thanks!
ReplyDeleteHi Noor! Absolutely ! I painted the entire thing In our guest bedroom. I just sanded it outside on my balcony. Just have your windows open as much as possible
DeleteI love this so much. Do you think I can paint the dresser before I put it together or paint it after putting it together?
ReplyDeleteHmm I’m wondering if you should assemble
DeleteThe frame and then paint it .. just in case the screws don’t fit in as well with several coats of paint,
Primer and topcoat .. you could do the drawers and frame separately ... . Good luck!